In this step-by-step guide, we’ll walk through configuring the Facebook Pixel to track events via Conversion API. Then, we’ll cover how to obtain the token required to enter in the My Agile Pixel settings.
Step 1
To begin, navigate to the Facebook Business Manager. From the left column, click on “All Tools” and then select “Event Management.”
Here, you’ll find the list of pixels associated with your advertising account.
Choose the pixel for which you want to enable the Facebook Conversion API, and click on “Add events” followed by “Using the Conversions API.”
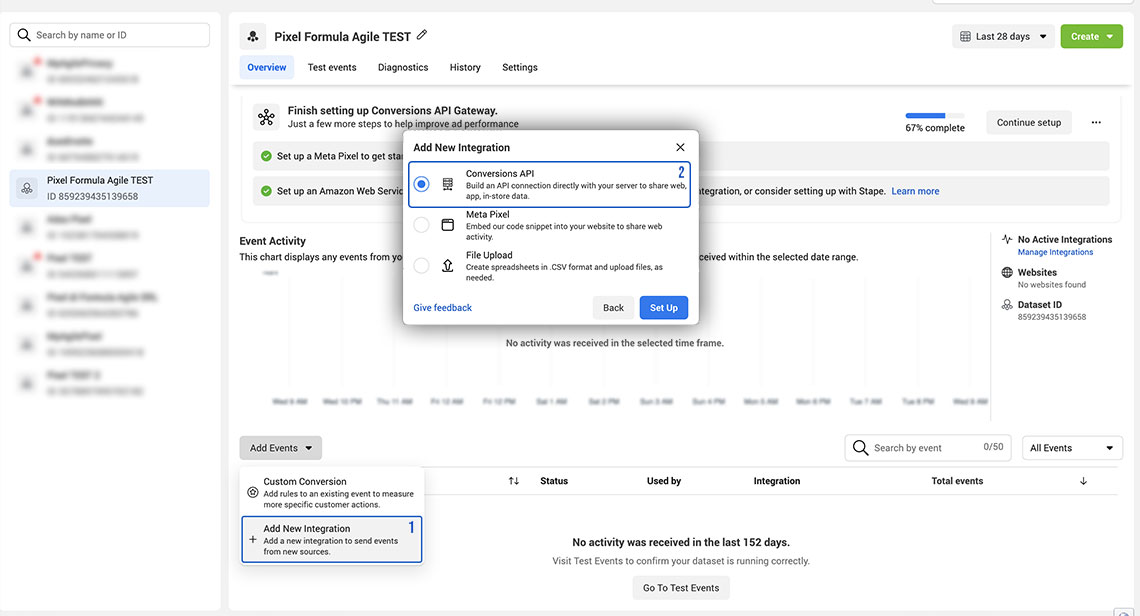
An overlay screen will appear, prompting you to select “install code manually.”
Step 2
At this stage, you’ll commence the setup wizard.
Proceed to the second step of the configuration, which is “Select Events.”

Here, select the events you wish to track. Refer to the technical data sheet for a list of supported events.
Once you’ve completed this step, proceed to the end at the “See Instuction” step, and click on “Open Implementation Guide” (this will open a new tab), then on the original tab click on “Finish.”
Step 3
On the implementation guide, click on “Get Started”, then on the “Generate Access Token” button.

The Access Token will become visible on the page. Copy it and save it.
Proceed to the end of the wizard and click “Finish.”
Step 4
Now your pixel is ready to track events via Conversion API.
Simply enter the Access Token (along with the Pixel ID) in the Facebook-related tab within the My Agile Pixel settings.
Step 5
Remember to remove any JavaScript code installed on your theme and disable any other software that may add this code. However, rest assured that My Agile Pixel is actively maintaining site compliance. Regardless of whether you are using My Agile Privacy or not, it has the capability to block client-side and out-of-standard versions of installation code that may be present.

